
How to dress for winter cycling
On Tuesday, December 5th, 2017 BikePGH’s Women & Biking Program hosted a Winter Cycling workshop, specifically dedicated to what to wear to stay comfortable while riding. Long-time volunteer Kat Gregor shared their love of winter, winter cycling, and their great knowledge of how to dress.
What we learned:
1. It’s all about the layers
2. Wool is your friend–Cotton is your enemy
3. Everybody and every body is different
4. Femme-only spaces are such a great space for sharing
More specifically…
During winter, you will encounter many types of weather, but your main enemy is wind. Cold air is one of the key things you need to protect yourself from, so if you have a protective shell on the outside, you’re more than half-way to having a good winter wardrobe.
Your hands, head, and feet will get cold most quickly if not well-protected.
Interior layers should be moisture-wicking to keep the water off of your body, preventing you from getting too cold. Just because it’s winter doesn’t mean you won’t sweat! You are exercising after all. Also, the number and types of layers you wear may differ depending on the length of your trip.
Remember reflectivity and visibility with lights not just on your bike but on your clothing. There is much less sunlight in the winter, and we suggest running your lights all day due to visibility issues with fog, rain, and snow.
Tip from Kat: Document your outfits along with the weather, what worked, and what didn’t on that day to help you remember what to try next time.
Your body:
Head & Neck:
- Cap/Hat–Your helmet probably has vents and the wind will seep through. Cover your head with a cap that fits under your helmet. There are scull caps and cycling caps made for this purpose. A thicker beanie can work, too, with adjustable helmets.
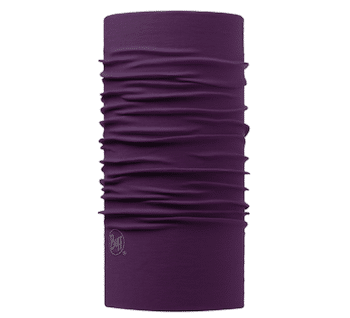
- Buffs/Gaiters/Neck Warmers–these are awesome, versatile tubes of fabric. You can cover your neck, face, head, and ears all at the same time if you want to.
- Balaclava–neck warmer and scull cap all-in-one
- Skin–This area should be the only place that you have skin exposure during the winter. Remember that the cold, dry air can be hard on your skin, so moisturizing before and after riding and at night time before you go to sleep is important for preventing chapped cheeks and lips.
- Glasses–eye glasses make for a nice shield, but they may fog up. There are anti-fog products for glasses.
- Ski Goggles–the cold air and wind may cause your eyes to water. Ski goggles help protect skin on your face and prevent your eyes from watering.
Hands
- Gloves–Material/Weight can be temperature dependent, and it’s good to have an extra pair in case your gloves get wet. Lined leather is great, but so are cycling-specific gloves with reflective material.
- Fingers–best for warmer-cold weather
- Lobster Claw–Warmer than full fingers because some of your fingers are nestled together, and maintains good grip on bars, brakes, shifting
- Mittens–warmest, but least flexibility for gripping, braking, shifting
- Hand warmers–look for reusable options if you are concerned about waste and it suits your lifestyle. Otherwise you can get packs of hand-warmers at many convenience and grocery stores. When you put hand warmers in your gloves it can affect your hand mobility.
- Consider warming your gloves before you ride off
Feet
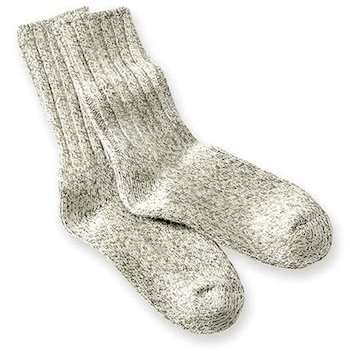
- Socks–wool socks are moisture-wicking and you can find them in different knits and weights. Sometimes you might want to double-layer.
- Shoes–the wind is your enemy here, too. Insulated boots are great. The sole of you shoe should have a quality tread because you feet will touch the ground where there might snow and ice when you stop at traffic lights along your ride.
- Overshoes–added grip to the bottom of your shoe plus wind & water protection.
Core/TOrso:
- Inside layer: Wool, silk, or other moisture-wicking under layers or long underwear. This is what should be touching your skin. Cotton absorbs water and threatens to chill your body instead of keeping it warm.
- Mid layers: Insulating layers
- Outside layers: Wind and water-resistant jacket or coat. Consider something with reflective piping.
Legs:
- Inside layer: Wool, silk, or other moisture-wicking under layers/long underwear. This is what should be touching your skin.
- Outside layer: Whatever pants you are comfortable in dependent on whether you’re dressing casually or sporty.
- Leg Warmers
- Additional outside layer: A wind/rain pants. Yes, your legs will be doing a lot of the moving work, but they will get cold. If your legs are cold, it’ll chill the blood moving to your toes.

Your Bike:
Visit your local bike shop during the winter! Your local bike shop can help you make adjustments on your bike for the wintertime.
Things to consider:
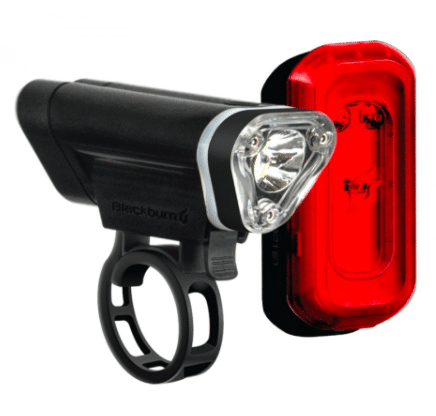
- Bike lights! Front white light and rear red light. When you’re not riding, take your lights off of your bike and keep them somewhere warm because the cold will drain the batteries.
- Reflective stickers, triangle, tape
- A general tune-up
- Braking power
- Tire size and grip
- Fenders and mud flaps
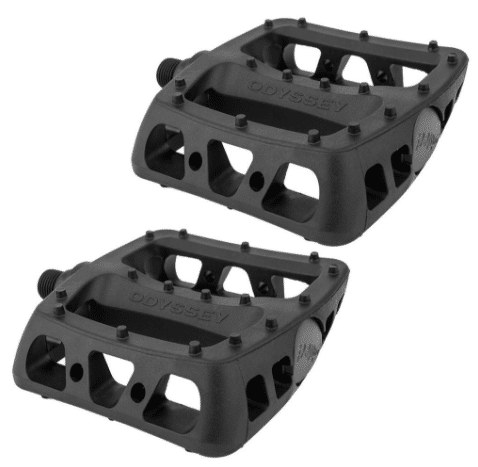
- Platform pedals to allow for boots and any shoe type
- Handlebar position for control in slippery conditions
- Saddle (seat) cover to protect it from the elements
- Weather-proof bags and carrying methods.
- An emergency fix-a-flat kit including tire levers, tube or patch kit, pump
- Keeping your bike clean and dry after riding. Salt and water are not good for your bike frame and moving parts.
- Did I say, “Visit your local bike shop?”

Riding Tips:
Sllloooww dooowwnn. Remember to give yourself more time. More time to get where you need to go. More time to slow down when you need to brake.
What happens if I get too cold? Have a back-up plan, not only for if you get to cold, but if you have no where safe (meaning somewhere warm) to fix a flat tire. Cell phone use batteries, so you should try to keep your cell phone warm, too. Keep in mind any friend that you may be able to call. Buses can carry bikes–know your nearest bus routes. Some ride share drivers will let you bring your bike on or in their car. Remember to bring a
Bring a snack because your body is expending more energy than usual in the cold.
Carry a handkerchief for that runny nose.
In addition to supporting your local bike shop, you can support local makers of body care products–like Apothecary Muse–to protect your skin.
If you leave your bike parked outside, bring your water bottle inside so it doesn’t freeze. Stay hydrated. You might not be as thirsty as you are in the summer, but you need that water more than you might think.
Your best route to work during the summer might not be the best route during the winter. Trails are likely to be icy, while main roads are salted and plowed.
With winter riding, especially, you might require a change of clothes and shoes when you get to your destination. If this is something you are able to do, give it a try!
Take up the space you need on the roadway. If it’s not safe to ride to the right of the road for fear of drivers passing you too closely, maintain your place in the middle of the lane until it is safe for drivers to pass.
You don’t have to do this every day. Listen to your body and your limits.
* Enjoy your ride! *
Women & Biking Newsletter: Check the box when you sign up for The Messenger to receive information about BikePGH Women & Biking events open to womyn, femmes, and non-binary people.